This is the exact OEM brake pads for the Hiboy Titan Pro!
Couple of tips:
Make sure to set the proper level of the inner pad with a hex key!
Use rubber bands to clamp a wrench on the brake line before tightening it to the caliper. Try to tighten the line where the wheel still spins freely but with slight brake level force, the brakes start to engage. You can fine tune this later with the barrel adjusters.
Your rotors probably will need a bit of leveling/aligning c; (Try to put angular pressure on the rotor where there is a spoke connection. This will help you not damage your rotor by snapping it).
Afterwards, make sure to use a semi fine grit sand paper to smooth any groves on the surface, oh and dont forget the back side. This ensure your pads aren't prematurely worn at first to adhere to any imperfection on the rotor. Try to remove only as much as is necessary since thin rotors will break under use.
Then sand it on the very outer edges. This is because over time and also in the process of aligning your rotors, dings and damages will appear on the outer edge which will dig into your new pads.
Use this opportunity to reset your barrel adjusters located on both ends of the brake lines. Have the going inside as much as possible with the tightening nut fully closed to the barrel. NOT spread out far.
After calibrating/aligning the rotors, in order to center the caliper, I found it easiest to apply slight brake with the levers with the caliper on slightly tight. This way it would level with the rotors and when I let go, it would be perfectly aligned with the rotors. Then I would carefully tighten the bolts while trying not to move the brake caliper.
That is all that I can remember in terms of tips.
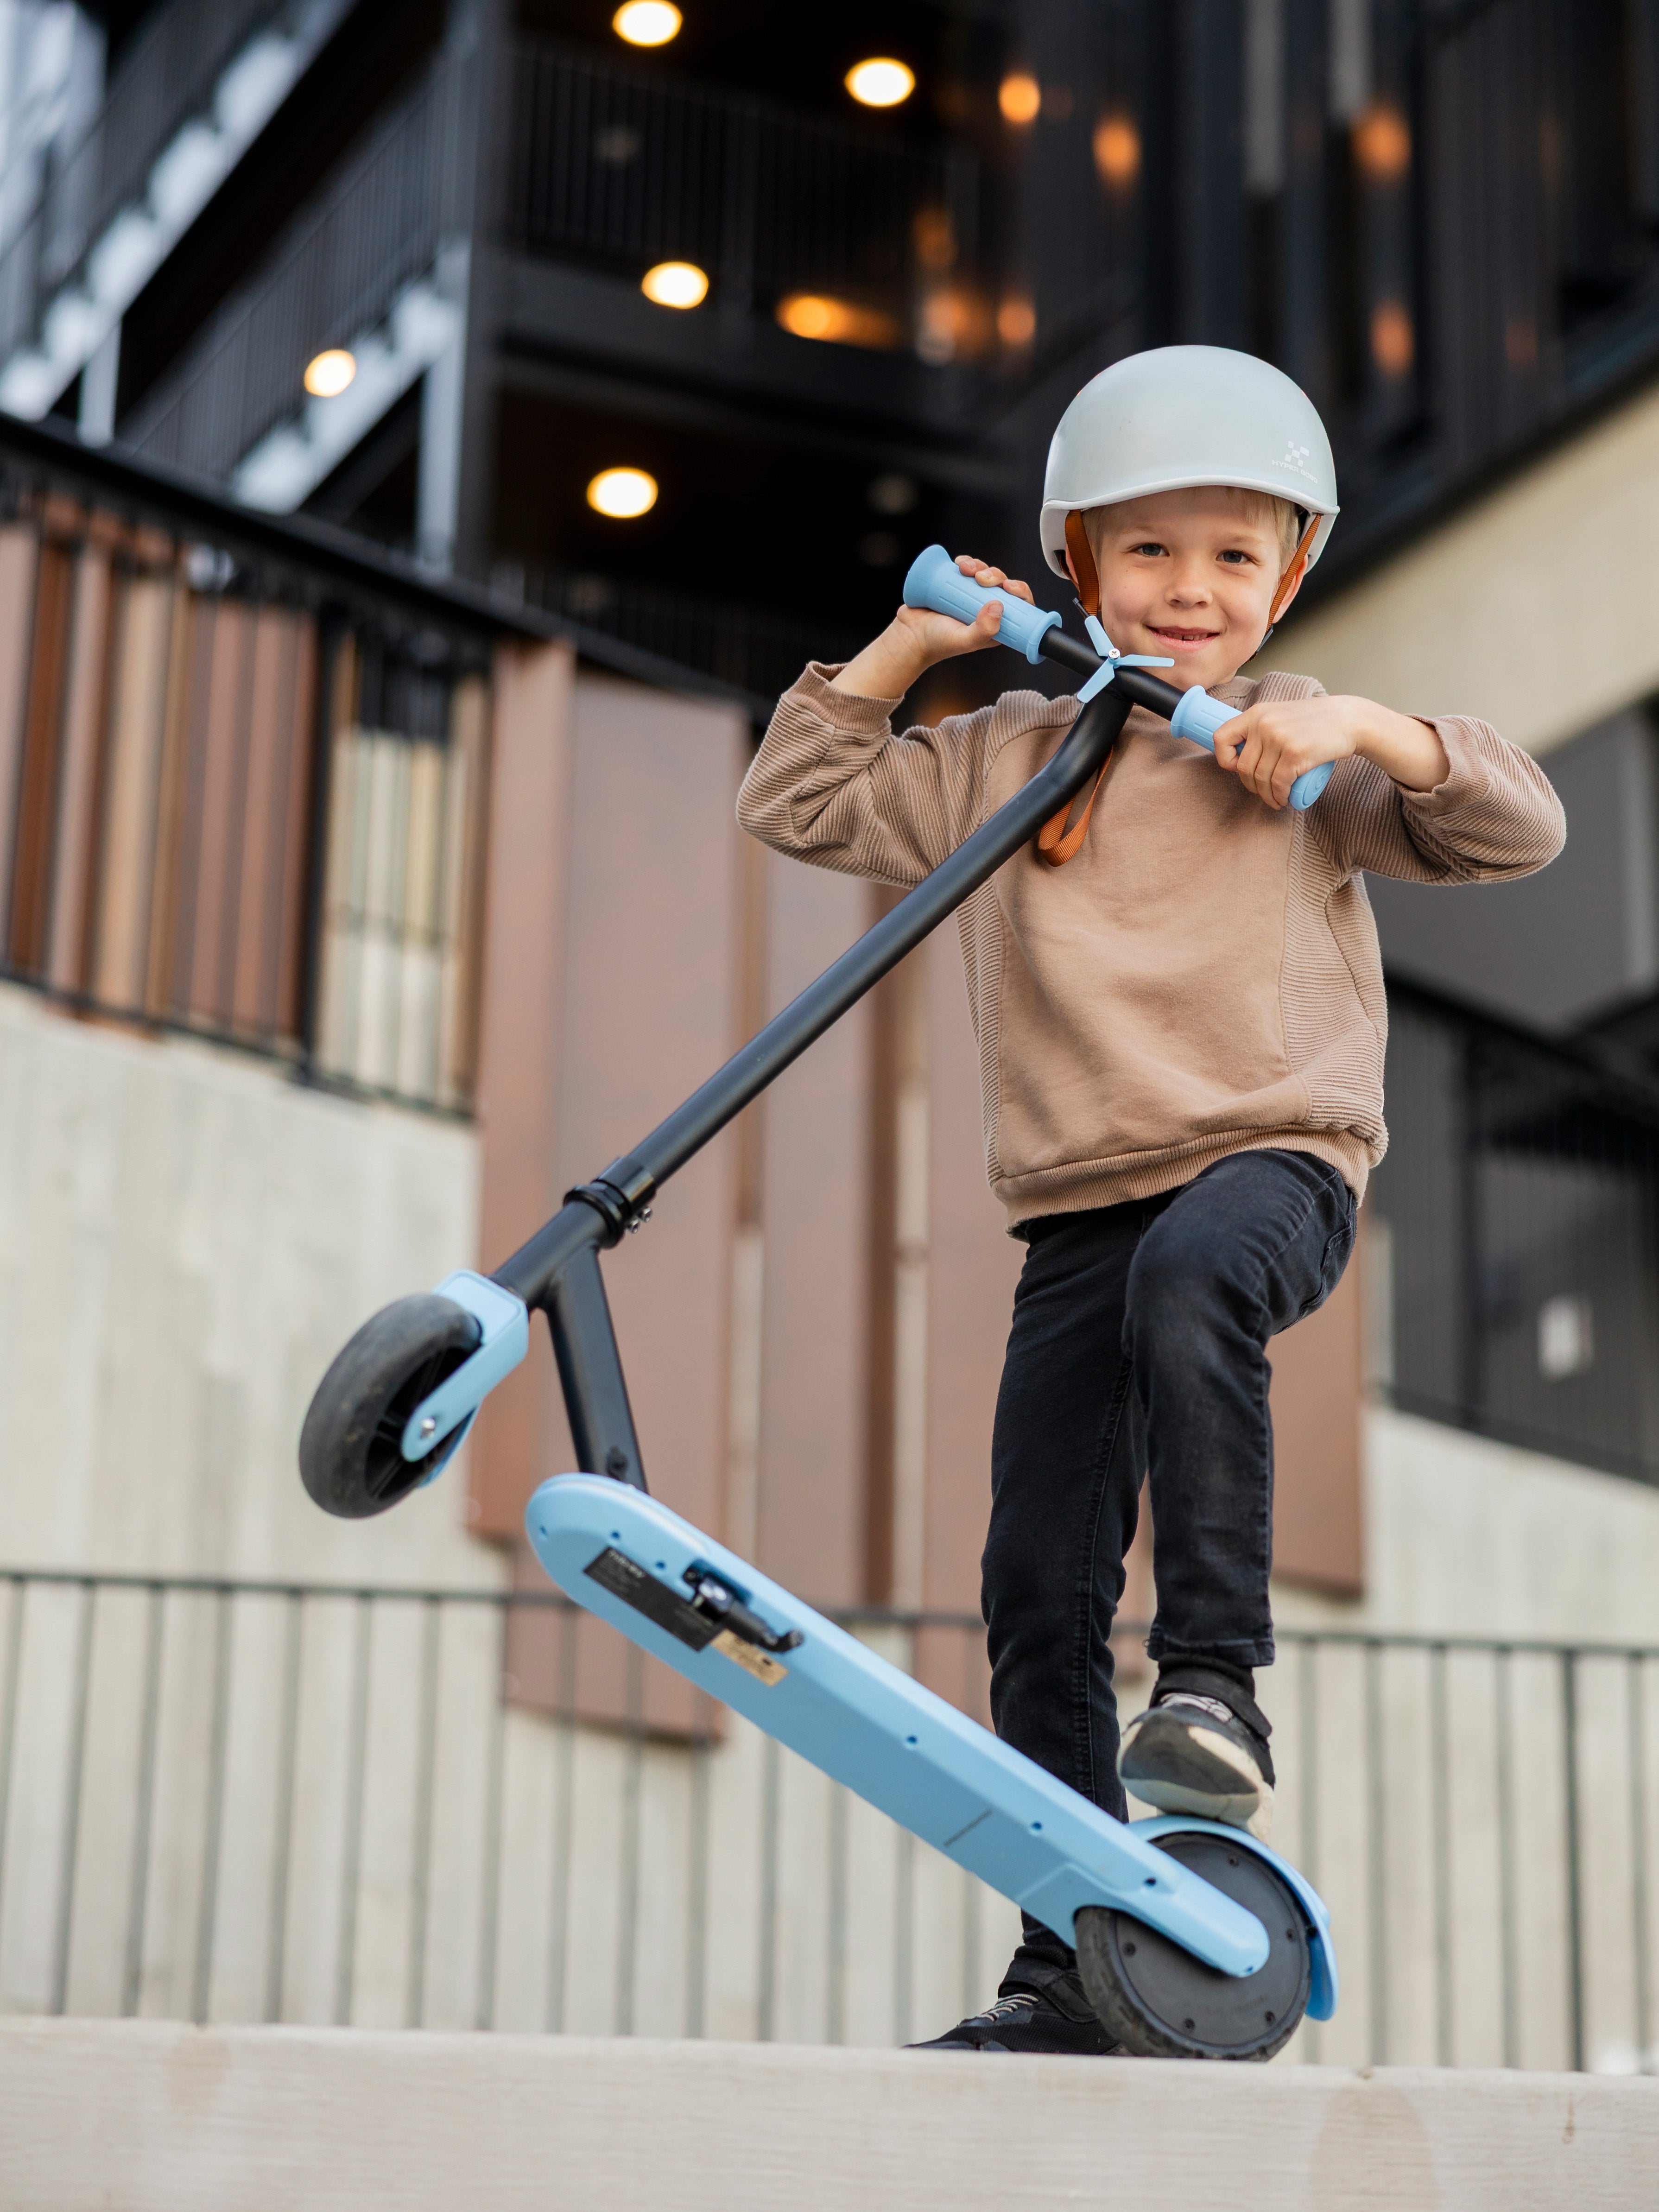
Ride safe!


 S2
S2
 KS4 Pro
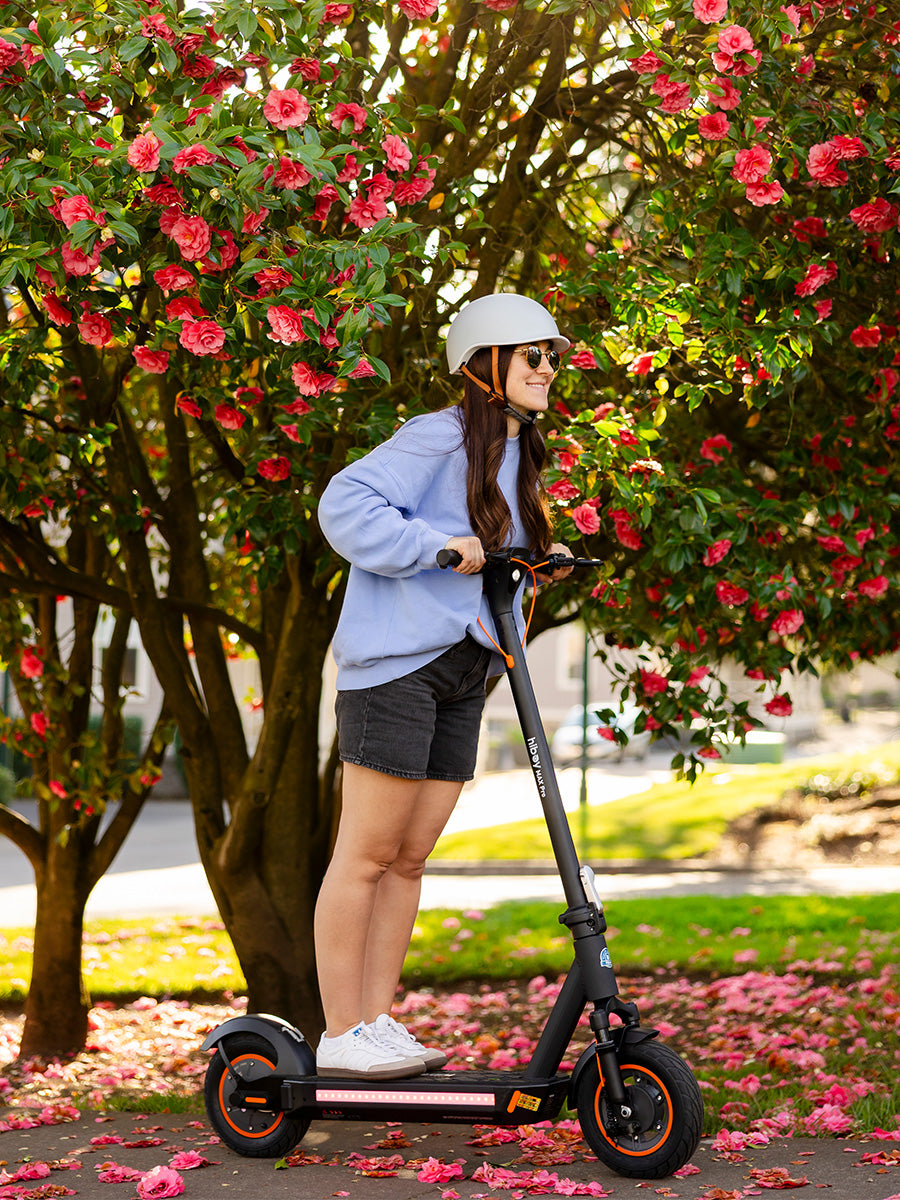
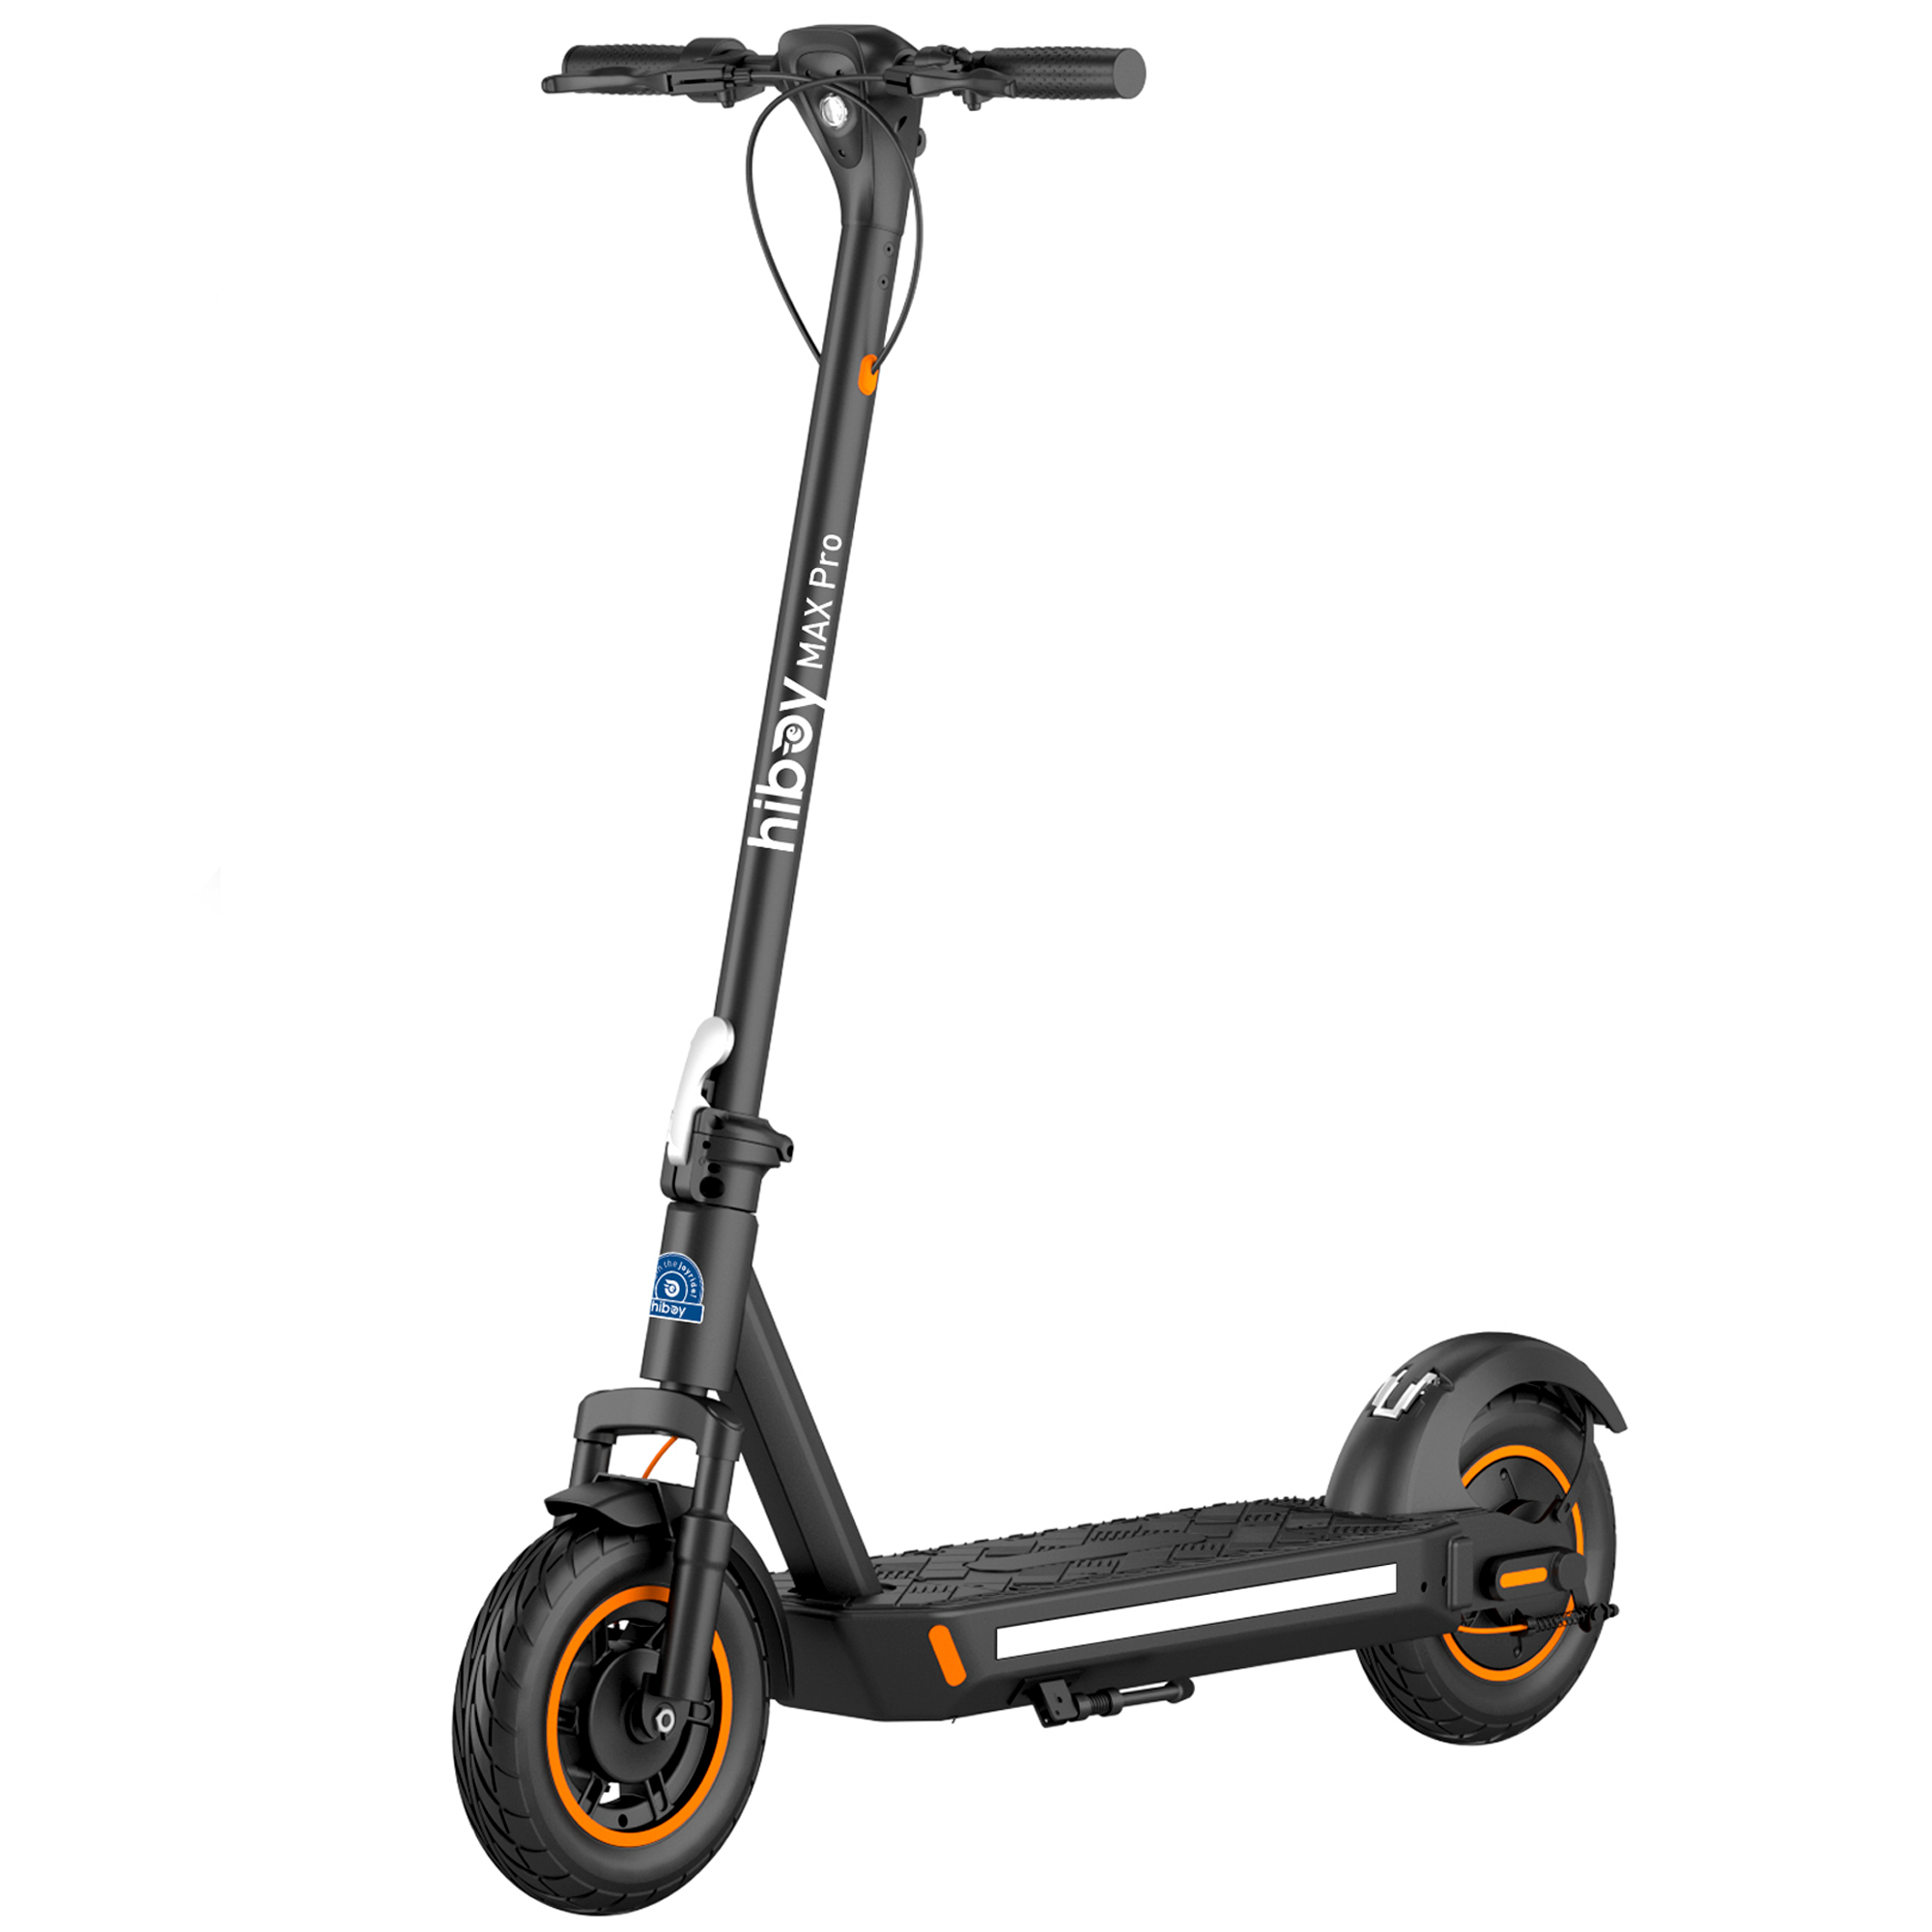 MAX Pro


 Light-Weight & Portable
 Long Range
 For Heavy Riders
 Big Wheel
 With Seat
 Fast
Fast

 EX6
EX6
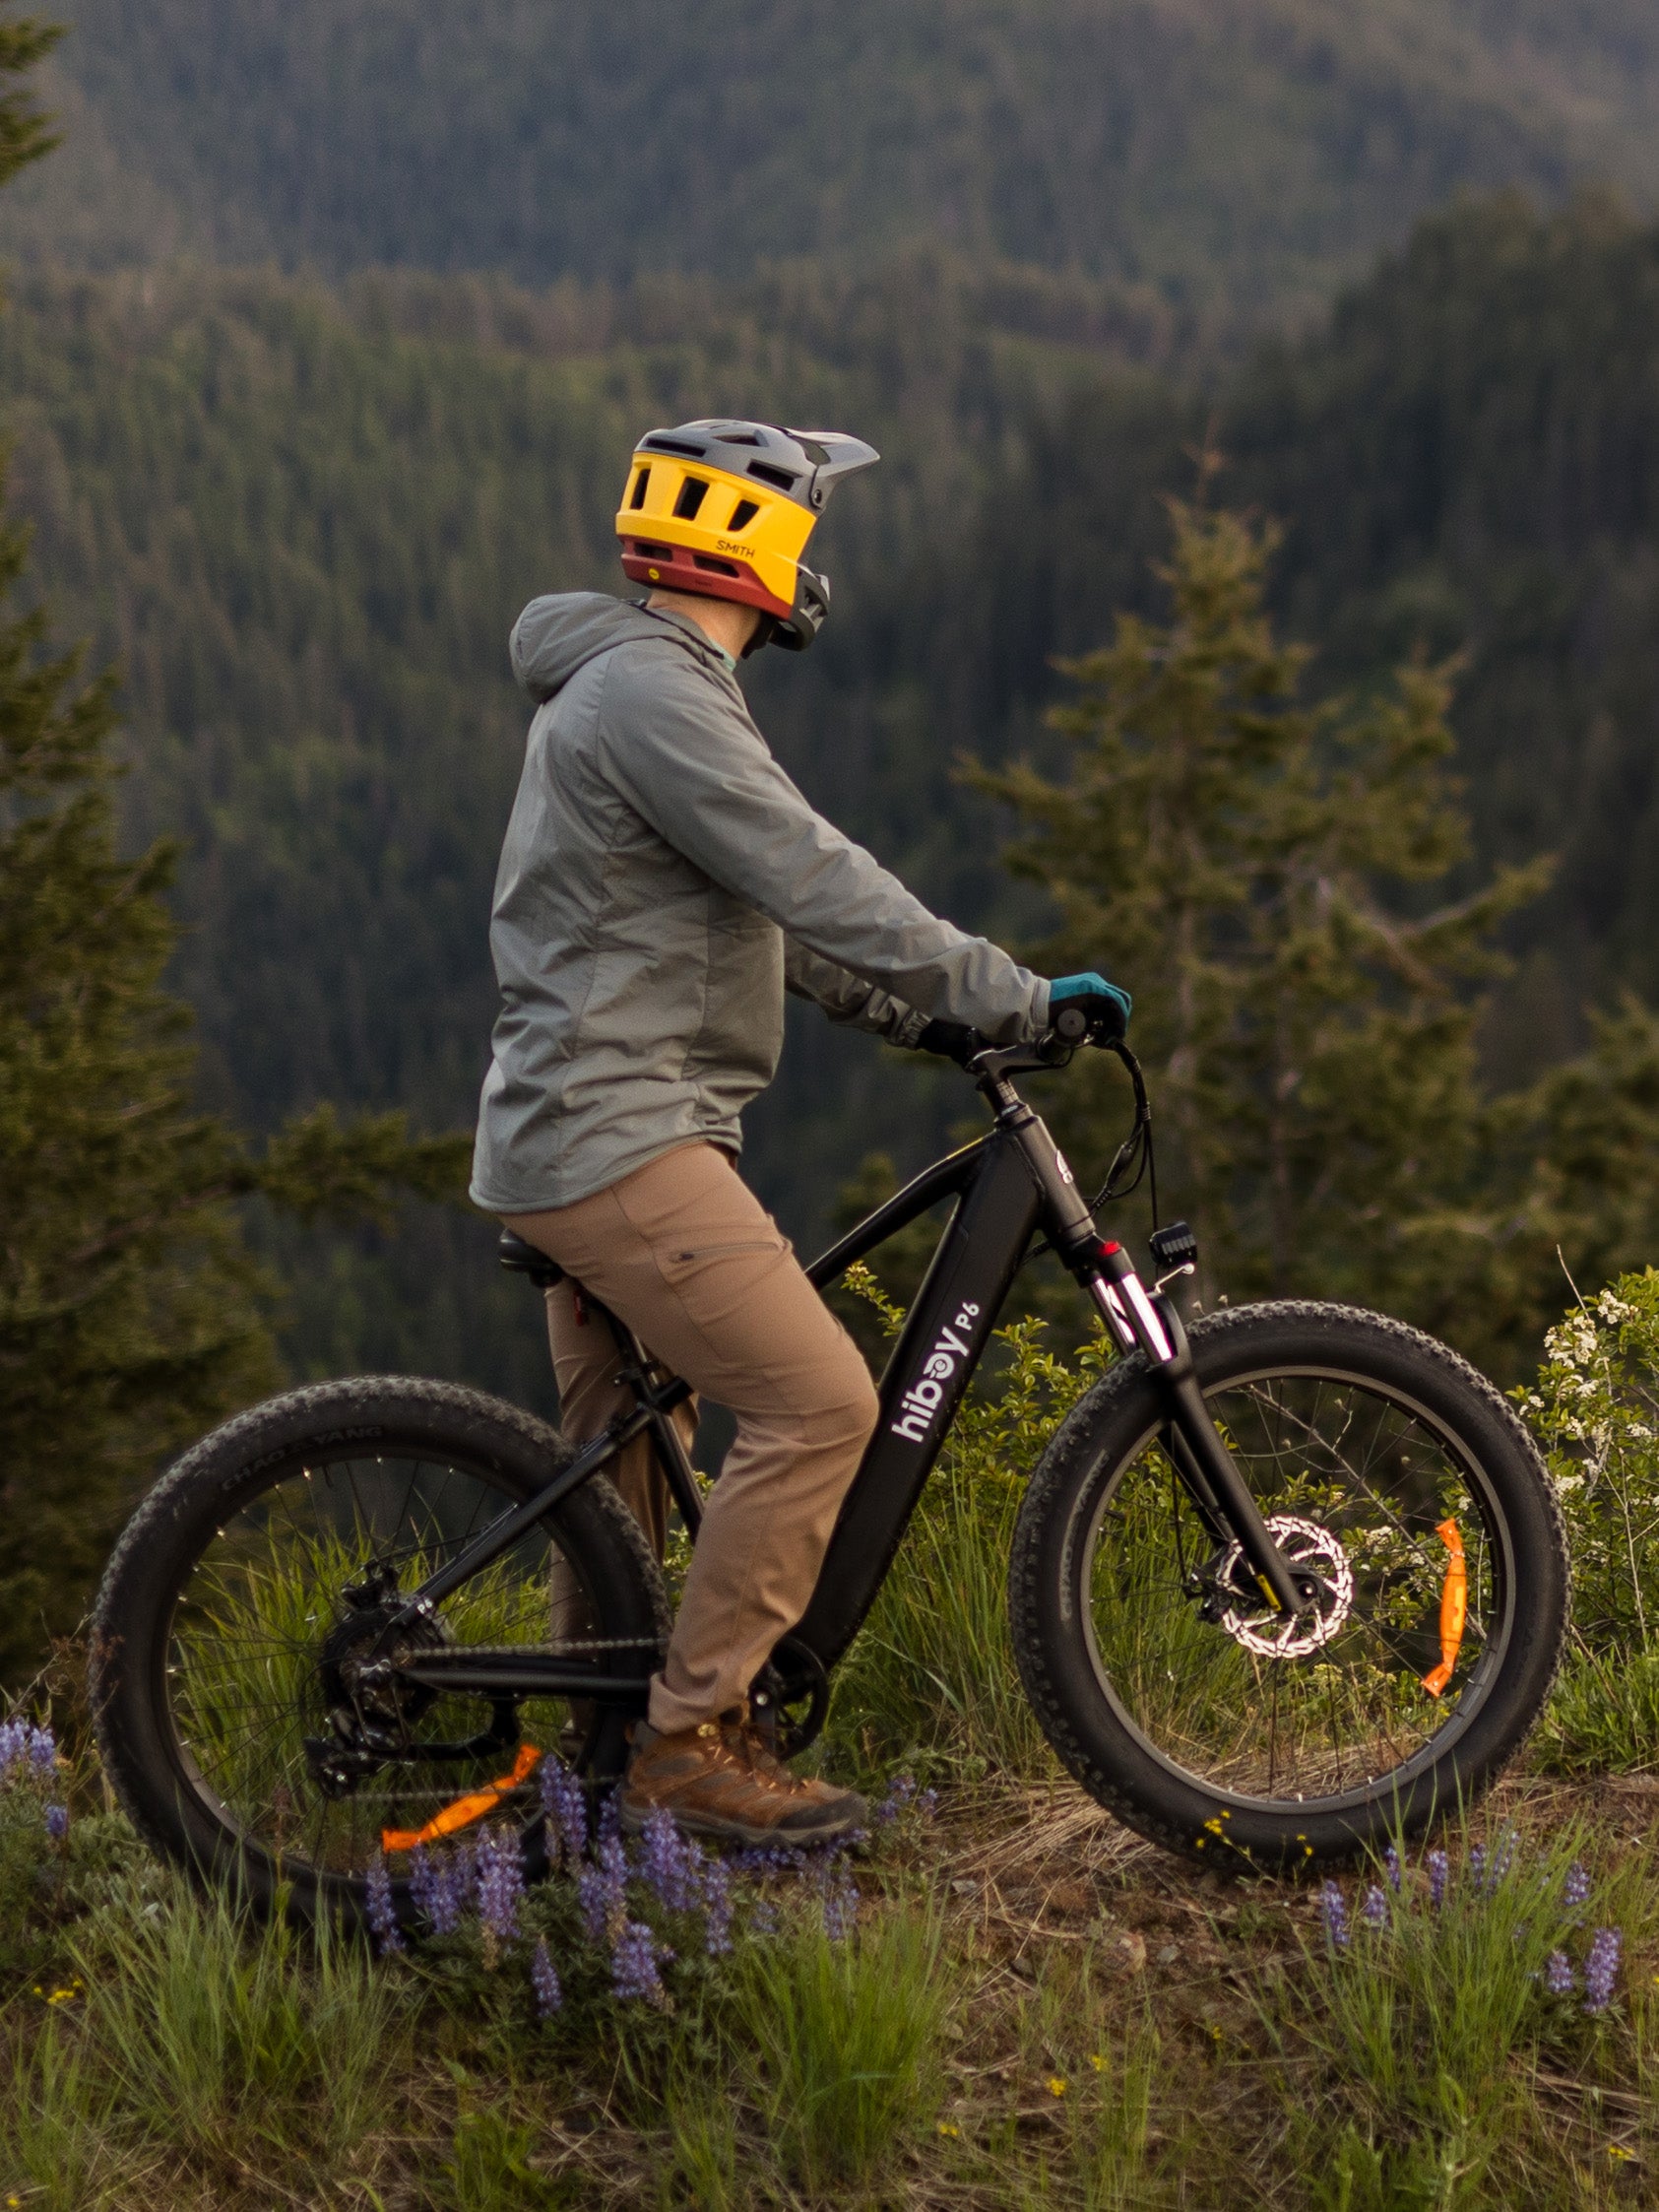
 P6
P6
 C1
C1
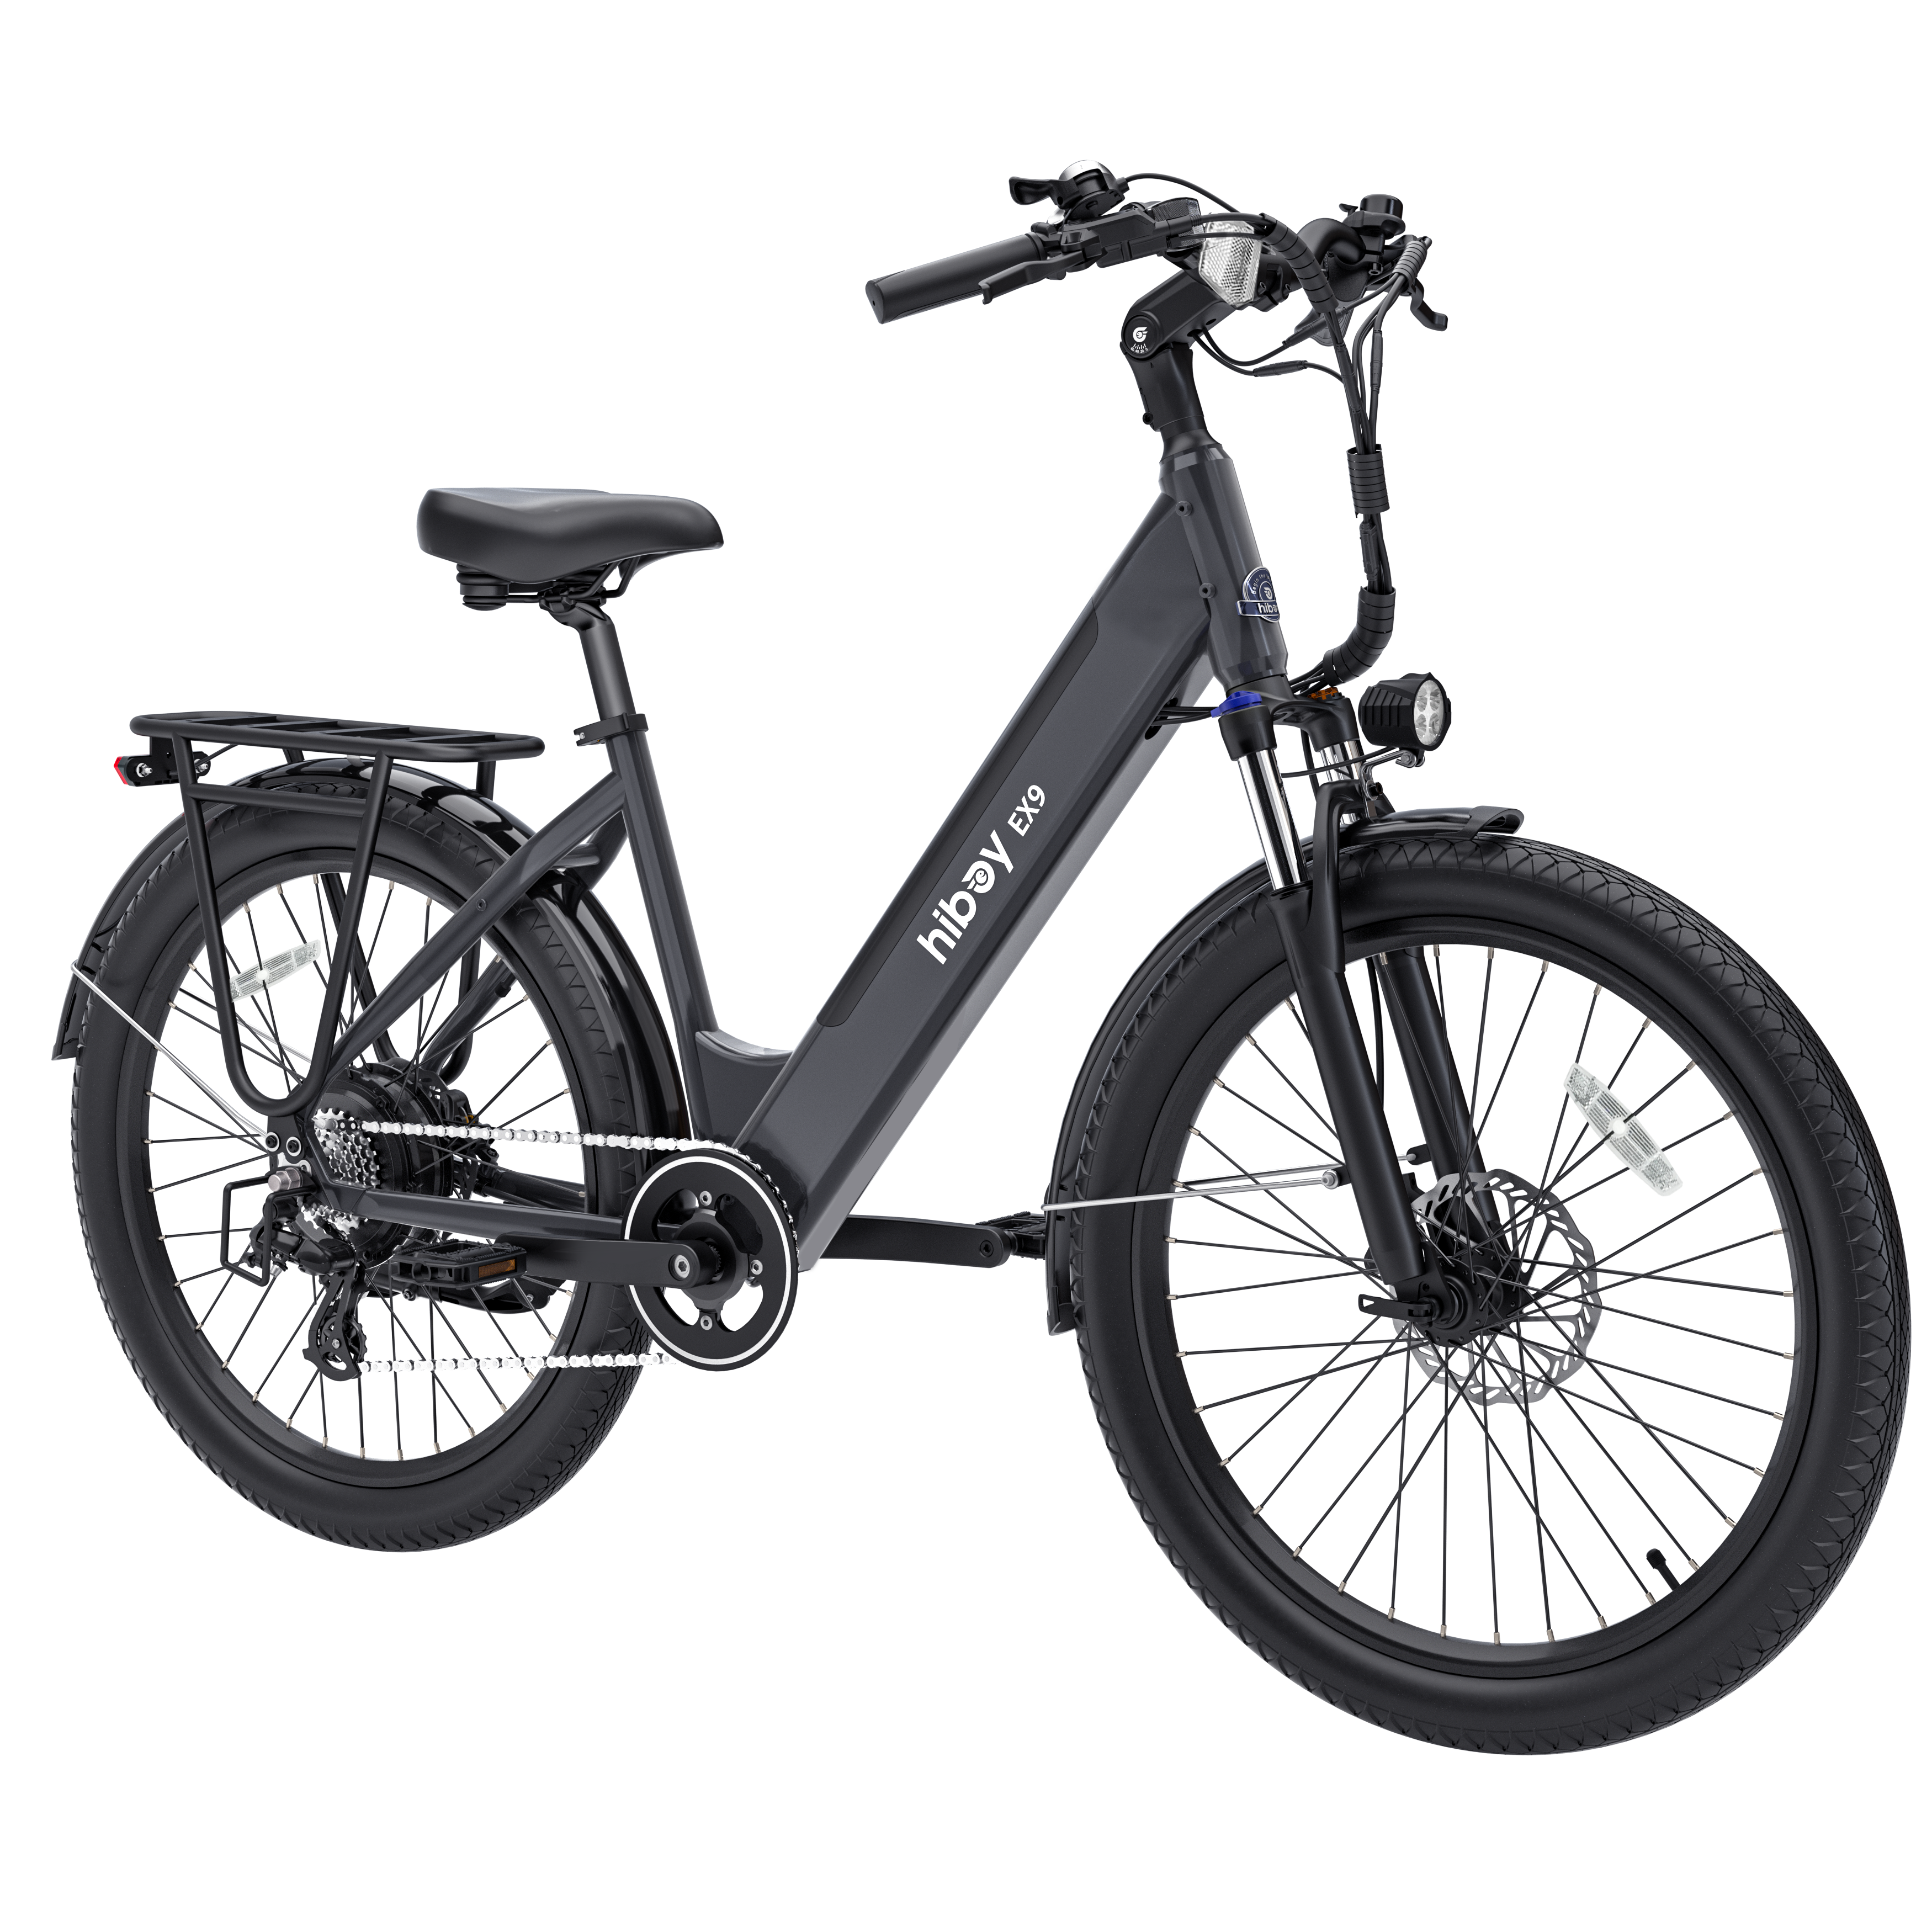 EX9
EX9
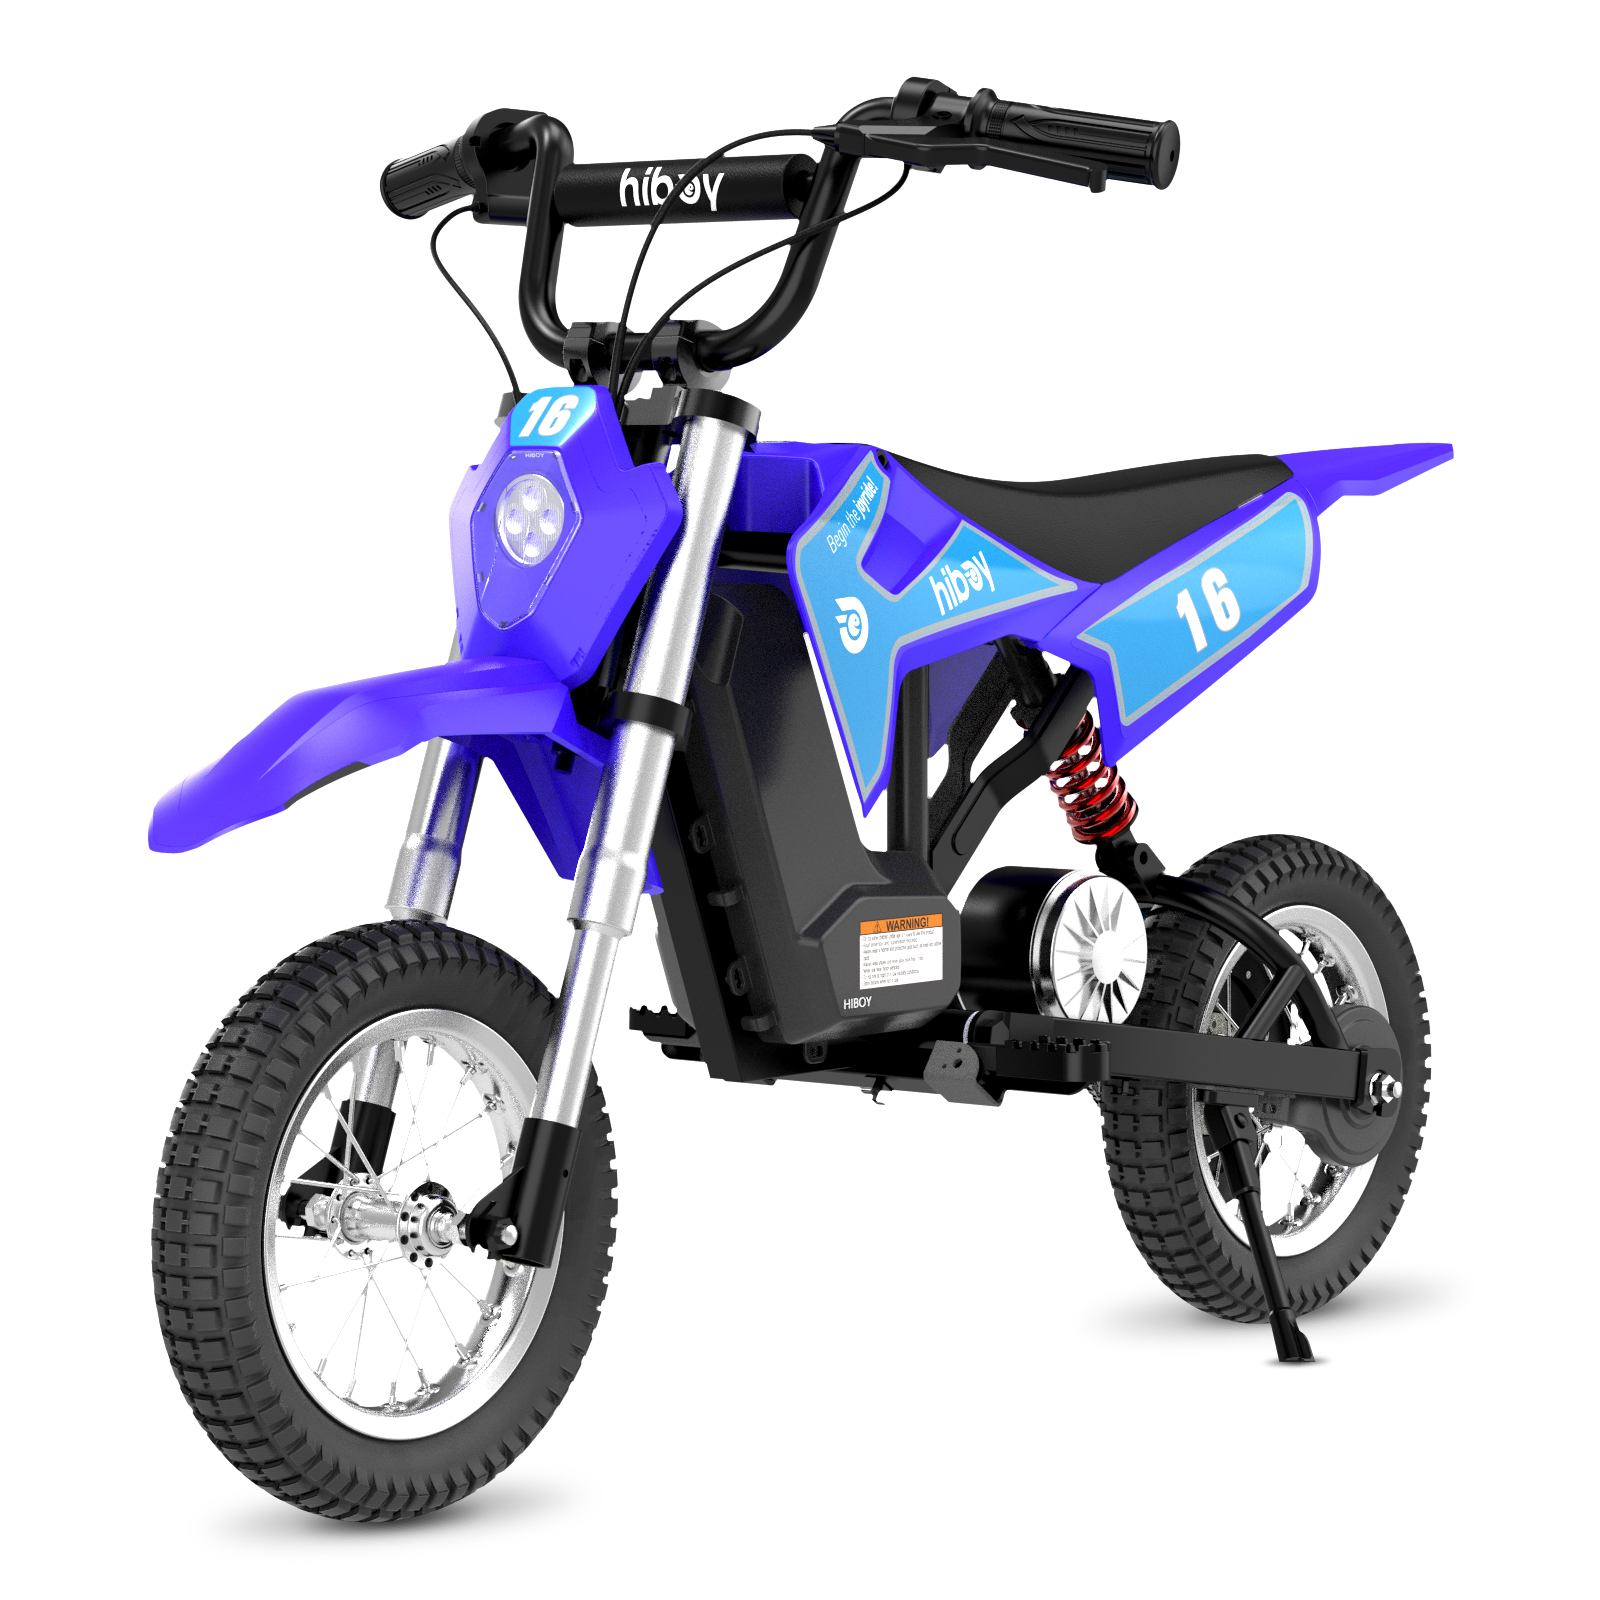 DK1
DK1
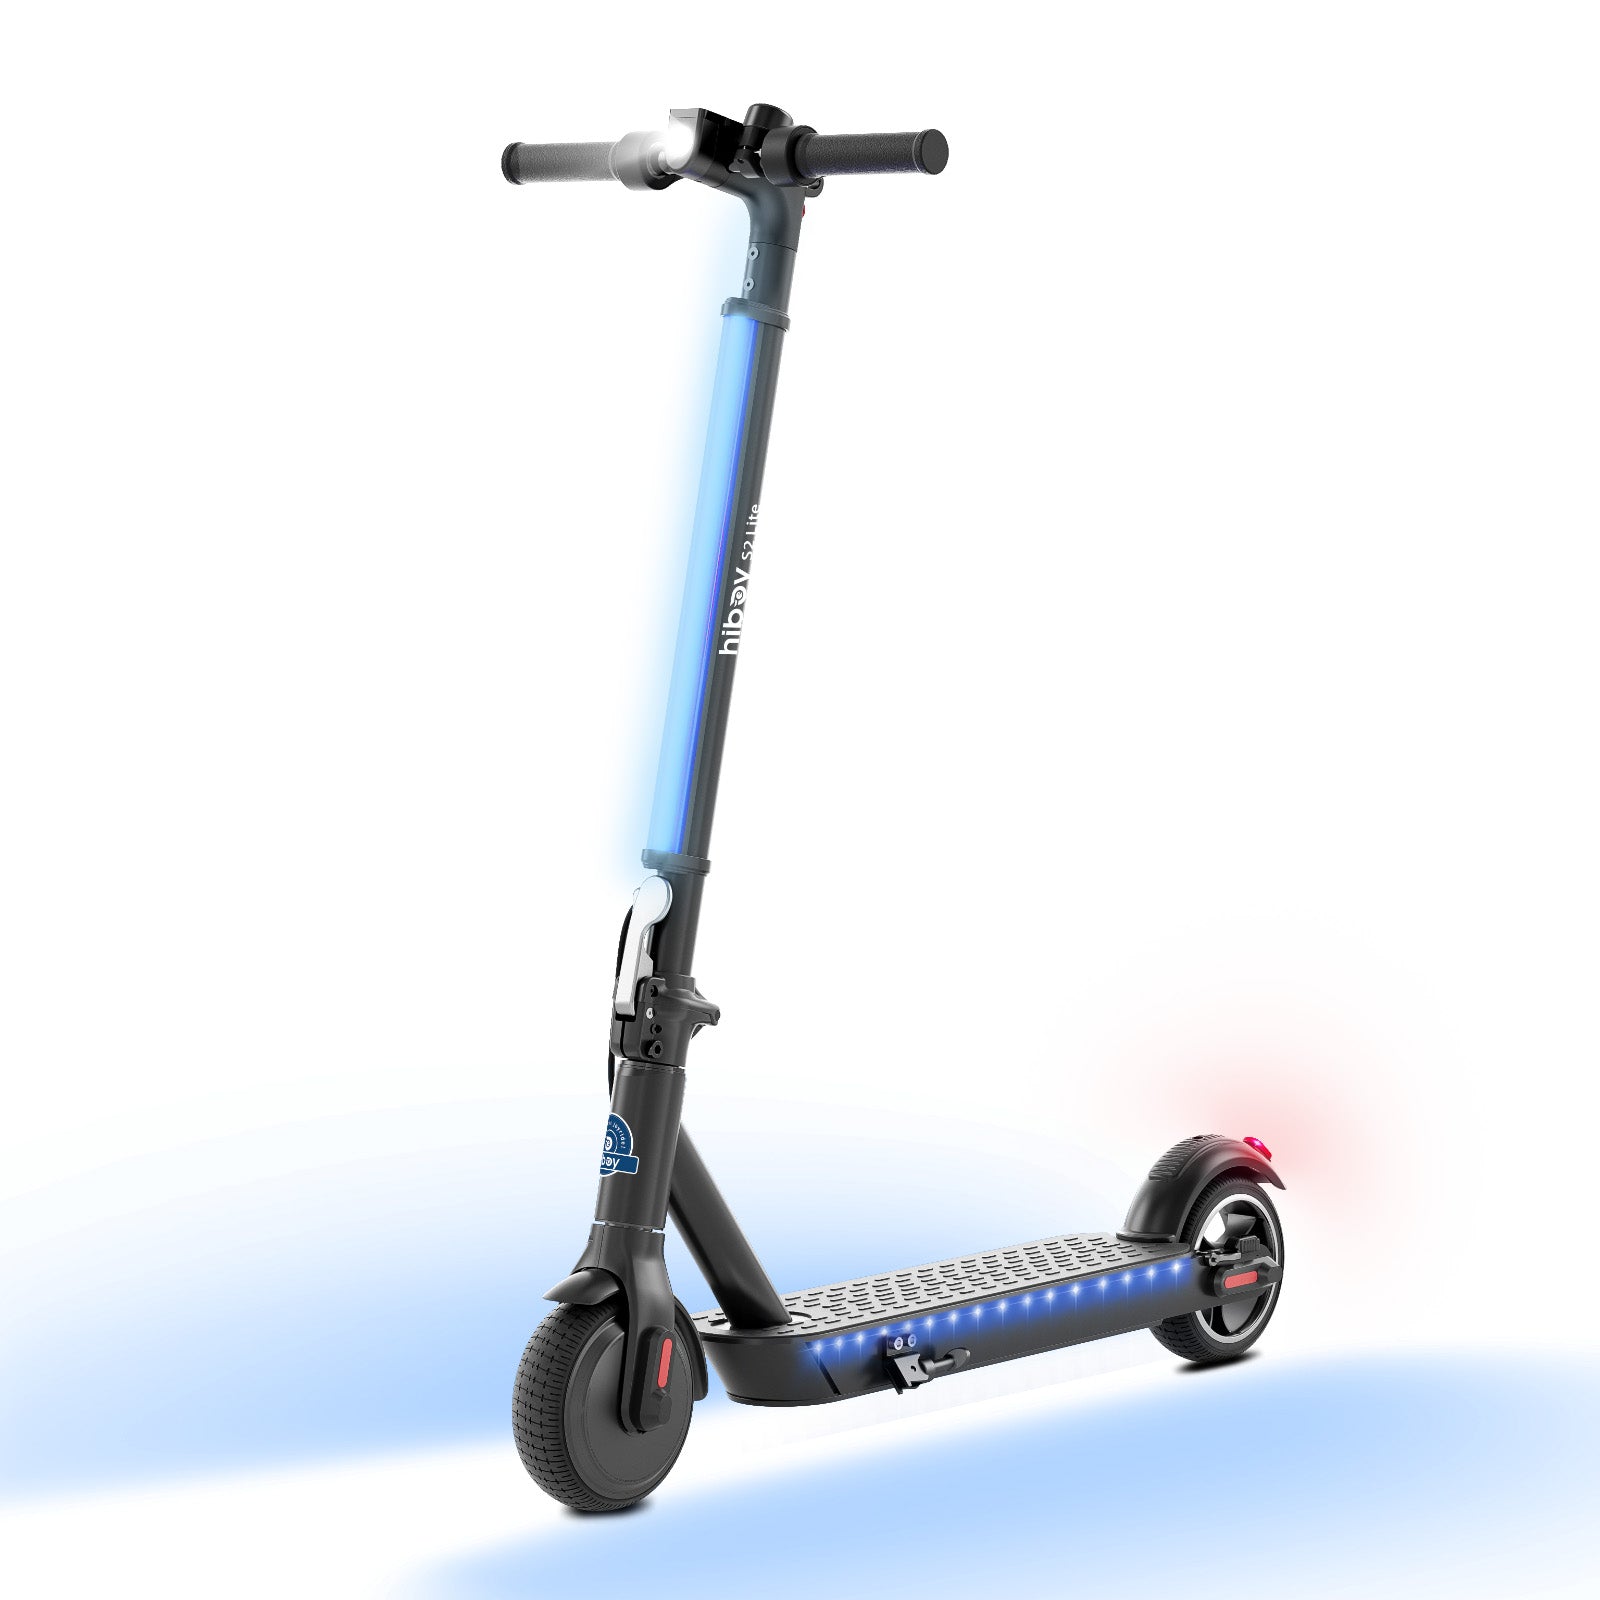 S2 Lite
 BK1
BK1
 ES-1
ES-1